
One of the main reasons I guess most of us carry a camera when we go fishing is to get decent shots of the fish our mates and we catch. This month I am going to concentrate on how to take shots of your mates with fish, before going on to self-takes next month.
I must admit, I really enjoy taking pictures of my buddies with their fish, and getting them some lasting pictures to go with their memories. Catch shots aren’t really that technically challenging, after all it is just a ‘bloke with a fish’. Normally I follow a well-rehearsed routine to get the shots I want, which means the fish get back quickly and as much of the potential for mistakes is taken out of the process as possible.
It’s good to talk
If there is one thing that you take from this article, then it should be that you need to
Talk to the captor and make sure everything is in position.
talk to the person with the fish and get them to hold it in the right position. Only you can see what the picture is going to look like, so if the fish is obscuring the captors face, is being held too far out, is at the wrong angle, or perhaps there are fingers over some vital part of the fish, then you need to tell them! Watch a professional photographer and they never stop talking, this isn’t just because they like the sound of their own voices, but because they need to get the subject into exactly the right position.
This might sound obvious, but several really good photographers have messed up shots of me with fish, simply because when I’ve prompted them they have just replied that everything is ok, when in fact it hasn’t been! Remember, it is your responsibility to make sure the shot looks right, not the captor. Mute photographers always worry me!
Get ready, then get the fish
Dealing with a lively fish and setting up a camera is a recipe disaster, even when there are two of you, so it really makes sense to get organised with unhooking mats, water, scales and antiseptic in place while the fish is resting in the margins. This includes getting the camera set up correctly and a few test shots fired off to check everything is working as it should.
Normally if I am on hand I prefer to just rest the fish in a landing net, rather than a retainer, just to cut down on the amount of handling. I like to actually get a few shots with everything sorted, except the fish, so I know it is just a matter of getting the captor into position and hitting the button.
Doing everything by the book did get me into trouble recently though when a surly fishery owner saw the test firing of the flash and presumed that we had a fish on the bank. When, a couple of minutes later we took the shots for real he wrongly assumed the fish had been out of the water all the time and came close to banning us until I explained what we had been up to! His final riposte was that we shouldn’t be taking pictures of his fish; not a venue that I will be returning too any time soon!
STEP BY STEP
I have tried to look at the stages I go through when taking pictures of other people’s fish. Normally the camera settings stay roughly the same. I set the camera to ‘P’ mode, with a single (normally central) focussing point, it is then just a matter of getting everything into position, making sure the angler and fish are framed right and hitting the button.
- Make sure the fish is safely secured in the margins and recovering from the fight – do all the set-up work before getting the fish out.
- Choose a background – find a nice flat area with a neutral background, such as tall reeds. This needs to be an area where the unhooking mat can be position safely.
- Check the angle of the sun – get the angler to kneel in position and then take up your position. Are there any nasty shadows? Make sure there is nothing in the background spoiling the picture.
- Take some test shots – With the camera set up to your liking fire off a few test shots to check the composition, the lighting, shadows etc. Check these testers and make any changes that these show up.
- Check the recharge time of the flash – there is nothing worse than having to wait between shots for the flash to recharge, change batteries frequently!
- Get the captor to retrieve the fish – Don’t do this yourself. Keep in position and ensure that the captor comes back to the right spot, if you both move then chances are you will end up in a different position.
- Protect the lens – The fish is likely to be fairly lively and often all the shots can be ruined if you get water droplets on the lens, so keep this facing away from the fish until it has calmed down.
- Talk to the angler, get the fish in position and start snapping away. Rather than hit the shutter machine-gun style, I prefer to take a shot, adjust the angler or the settings, and then try again.
- Still talking, try a few slightly different angles, make sure the fish is nicely lit and that the fish is pin sharp by zooming in on the camera’s rear screen.
- Get the fish back. You should only have the fish out of the water for a couple of minutes at most if you get everything set up first. A good tip is to set the timer on your phone to indicate when the time is up.
- Shake the captors hand and show him the great shots you have got!
Flash forever
One of the simplest ways that you can improve your photographs is to use the built-in
Shot with no fill-in flash.
flash gun on the camera, in fact for catch shots (normally shots of silver bream which are amazingly reflective) I can think of only a handful that I have taken that haven’t benefitted from some flash. Even during the middle of the day, and especially on very sunny days, shadows can often spoil an otherwise good picture and the flash will remove some of these. The worst culprit for shadow are baseball caps – how I hate caps! The shadow left by a cap across the top of the face is a nightmare that is often difficult to remove.
Adding some flash will remove a lot of the shadow and help make the colours ‘pop’ on duller days. Most cameras will have an autoflash mode that controls the power of the built-in flash and this normally produces some pretty reliable results when the background of the image is not too bright or dark. Personally, I prefer to set the flash power manually, and use a plastic diffuser over the front of the flash to spread the beam and give it a more even effect on the picture. Reducing the flash power by around 1-stop normally produces good results during daylight.
Same shot with flash.
Bright conditions and flash can cause burn-out, where parts of the picture come out white as the camera struggles to see the detail because there is too much light. You can check for this quite easily when you review the image on the back of your camera. Hit the ‘info’ button once and this will show any parts of the image that the camera thinks are burnt out.
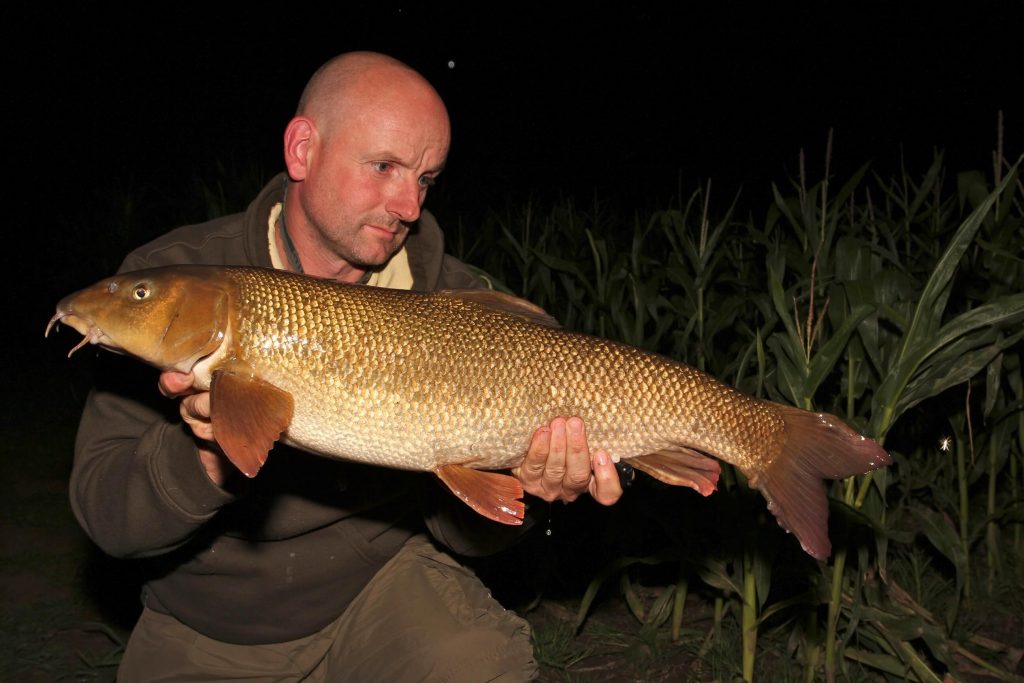
Good shots at night
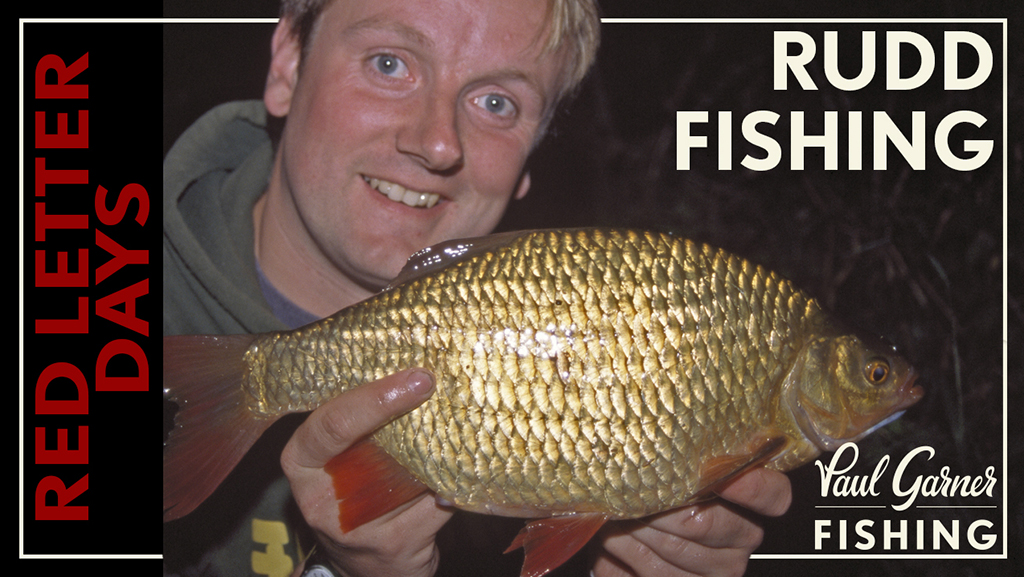
I use exactly the same procedure when taking shots at night, although obviously the flash becomes a necessity! You can struggle a bit to get the camera to focus on your subject in the dark, but normally a strategically placed head torch will sort this problem out.
Something to bear in mind with low-light shots using the flash is that the in-built flash gun on most cameras, whilst powerful enough to give you a good catch shot, does not have a particularly wide angle beam. This can mean that the head and tail of the fish can appear darker than the angler and the centre of the fish – not ideal. If this is a problem then try moving slightly further away from the subject and zooming in a little. I find that setting the zoom to around 50mm will give you a more even spread from the flash than coming in closer.
A powerful external flash gun with a wider angle beam is a good accessory to add to your wish list, but are expensive, at often £100 plus. If you are planning on doing a lot of photography then it is a must-have though, as you will soon find that the built-in flash becomes limiting.
Shoe on the other foot
Every so often I get a bit complacent and get a passing dog walker, or other stranger to take some shots for me. This normally serves as a good reminder of how not to take a picture!
You can though get a mate to take good shots of you with a fish by following pretty much the same rules as I’ve outlined above. What I do in this situation is get my friend to kneel in the position that I will be in with the fish, set everything up for them and then carefully swap places. This is not a lot different from a self-take, but does mean you don’t have to worry about remotely firing the camera, and of course if you ask them, they will tell you how exactly to hold the fish to best effect.
There really is no reason why any of us can’t get great catch shots of our mates. Rushing things, especially if the adrenalin is pumping after landing a big fish, is the only stumbling block, so give the fish and yourself a rest. Get everything set up first, and get the fish back quickly and you will not go far wrong. The next step on from this is getting decent shots when you are on the bank all alone, and we will cover this slightly trickier subject next month.
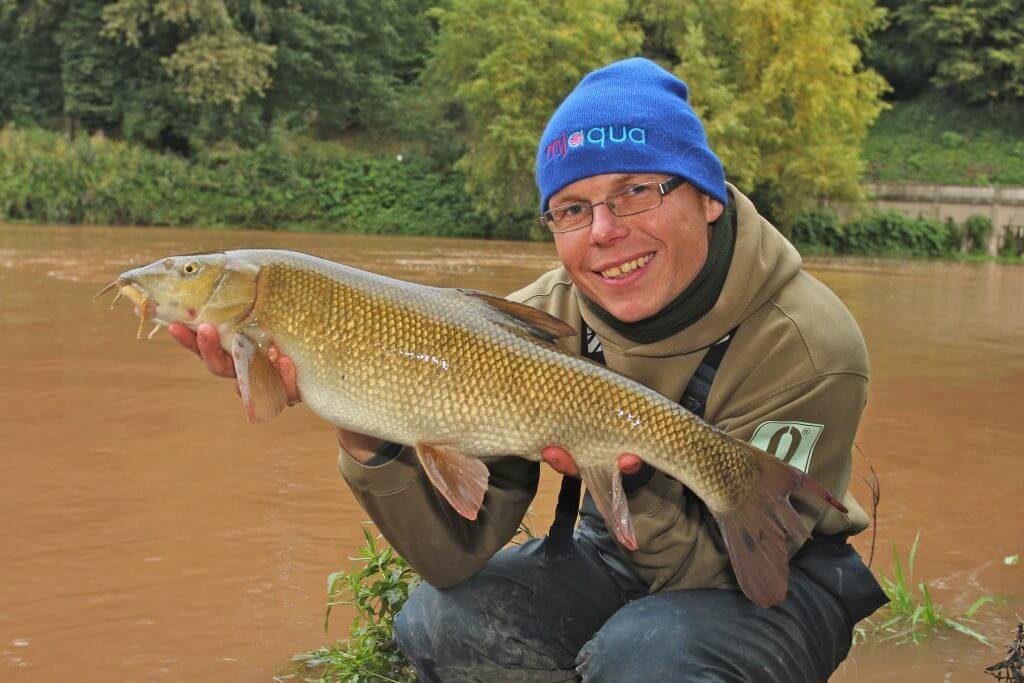
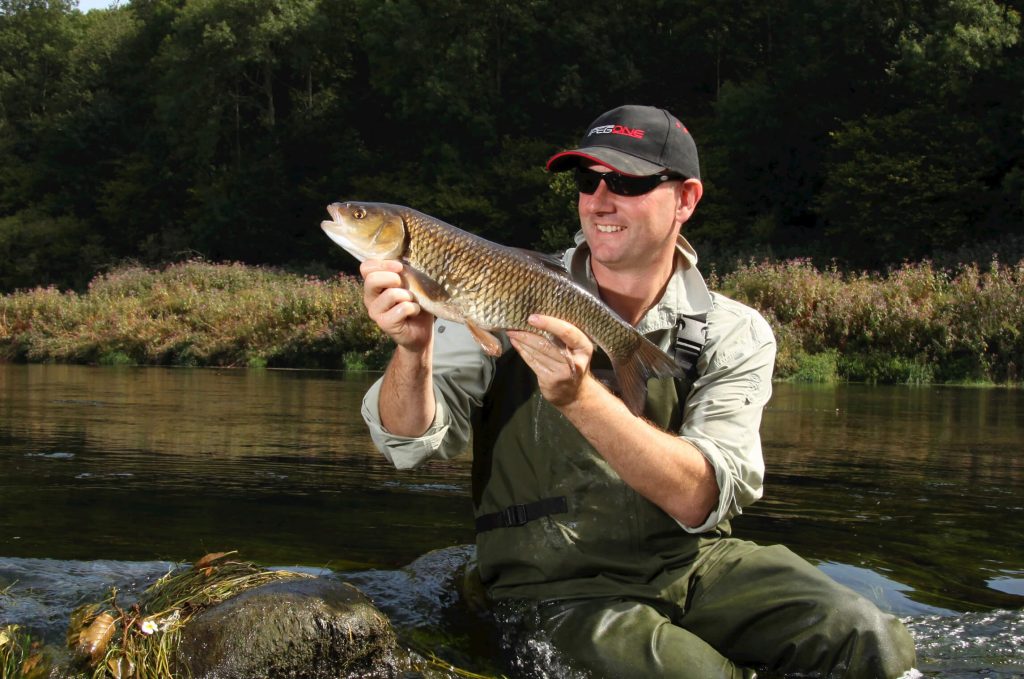
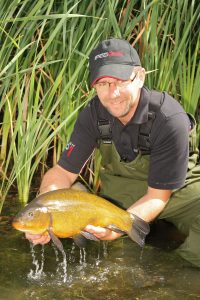
A nicely lit shot with some background to give it context.

No Comments