
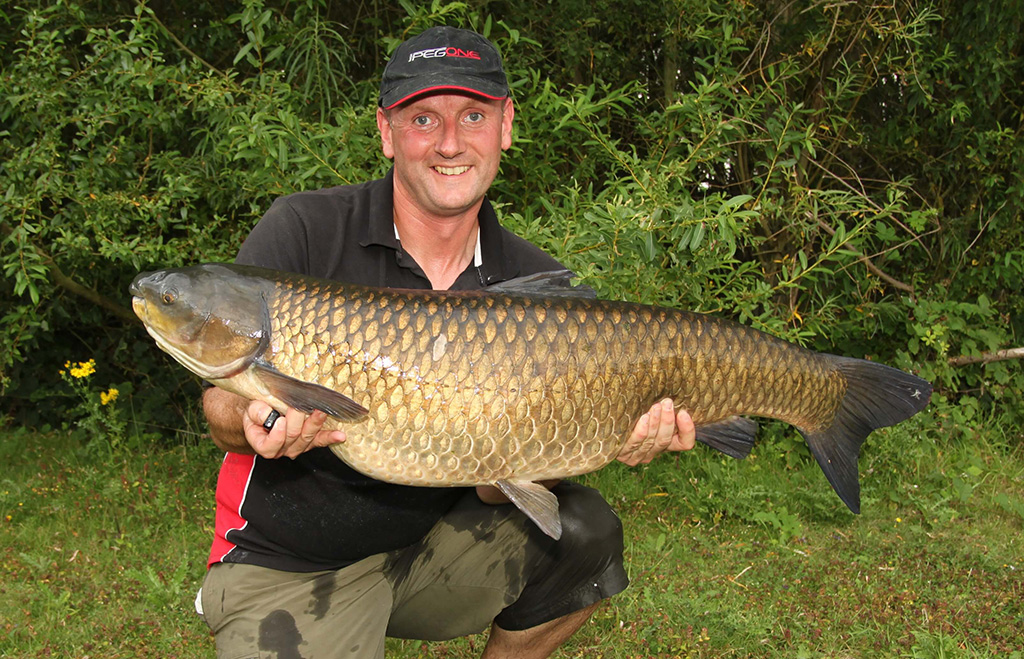
There are few more anxious moments in fishing when you have finally got a new personal best resting in the net and suddenly realize that you are the only one on the bank with no one to help you get a decent photo. Perhaps you might have a good mate that will come out and do the shots for you, but if you are anything like me, it is likely to be the middle of a wet night and you are many miles from home.
The good news is that getting good self-take photographs is actually not that difficult, as long as you follow some simple rules and get yourself into a regular routine. Most of the steps are exactly the same as those I went through last month when taking pictures of someone else. The most important thing is to make sure that the fish is resting comfortably before you even think about getting your camera out.
With modern auto-focus cameras with swivelling screens it is dead easy to get your camera and unhooking mat in position. Take a few test shots to ensure that you and the fish are going to be in the frame, and that the lighting is about right. I get all of this set up and checked whilst the fish is still resting up. Normally I will have the scales and weigh sling, plus a container of water to wash any weed off the fish, so that I can weigh and photograph the fish all in one go and get it back as quickly as possible. To be honest, these days unless I have someone I can trust with me, I prefer to use self-takes every time, it really is that simple once you get into a routine.
Camera Settings
I have my good mate Ian Poole to thank for giving me the camera settings that I still use with my Canons. Setting the camera to manual mode I dial in a shutter speed of 1/80th of a second and an aperture of F8.0. Set the white balance to flash and you are ready to go. With the flash set to auto this gives a nice image that is slightly under-exposed, but without any shiny areas of the fish being blown-out. I normally use simple editing software to boost the exposure a little when I get home to correct this.
Step by Step
This is the procedure that I follow when setting up a self-take shot. Everyone has a slightly different way of doing it, but this will guarantee you some nice reproducible results.
Find a nice neutral background and position your unhooking mat, scales, weigh sling and some water in position.
Set up your tripod and camera about 5 feet in front of the unhooking mat. I normally have the lens set to about 20-24mm to give a slightly wide-angle effect on the fish. Make sure the autofocus on the camera is set to the central focal point.
In daylight I normally set the camera to TV and dial in a shutter speed of 1/125th of a second, set white balance to cloudy. I will still use some flash during the day to lighten the shadows
At night set the camera to manual and dial in a shutter speed of 1/80th and an aperture of F8.0 and white balance to flash. Set the flash to automatic.
Set the camera to remote firing mode.
Kneel in the position that you will be in when taking the photos and fire off a few test shots. Make sure that you are framed nicely in the picture and that the exposure is right.
Put the remote control somewhere safe, normally in a pocket. Now go and retrieve the fish.
Pick the fish up whilst holding the remote in the hand that is at the back of the fish. I find this is easier than having it in the front hand as the fish is narrower at the back.
Fire away. Remember to give the flash a few seconds between each shot to recharge.
After each shot check the composition on the screen. You won’t be able to check if the image is sharp, but as long as you don’t hold the fish right out you should be ok.
Put the fish back in the landing net or weigh sling and get it back in the water. Weighing and photographing the fish should take no longer than 2 minutes.
Tripods
One piece of kit that you will definitely want to invest in if you fish alone a lot is a tripod. Yes, you can use a bankstick adaptor, and these work well on soft ground, but what about when the ground is rock hard? I own 2 tripods. One is a relatively cheap own-brand model from Jessops, that although not the most stable thing in the world is very light and has not let me down (fingers crossed) in several years of use. This always comes with me if I
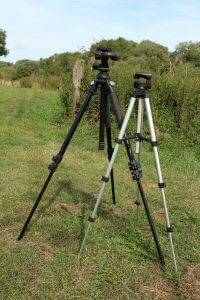
A heavy tripod is more user-friendly, but not so good when you face a long walk.
need to travel light. If I am fishing next to the car, or barrowing my gear then I use a much heavier Manfroto 190Pro tripod with an adjustable head. To be honest, this is a little bit over-kill for self-takes, but the extra weigh and stability does make it a very useful piece of kit for any photography that needs to be absolutely steady.
You can spend an absolute fortune on tripods that have carbon, magnesium and even basalt components to keep the weight down! Expensive tripods really are camera porn, and unless you are planning on trekking up a mountain then the question has to be asked is saving a few ounces worth lightening your pocket to the tune of several hundred quid? When it comes to stability lighter certainly isn’t better anyway, so give me a nice heavy, metal tripod over the fancy kit any day!
Remote Control
If there is one feature that is absolutely essential for any camera that you want to use for fishing then it has to be the ability to be used with a remote control. This might sound obvious, but it is surprising how many bridge and compact cameras lack this feature. I guess there aren’t that many other times when you are going to want to take pictures of yourself, unless you are that way inclined! A timer is simply not good enough in my opinion, as this will mean you have to leave the fish on the mat whilst you press the shutter button on the camera for each shot – not good!
It used to be so easy back in the day when you could screw a bulb air-release into the button on the camera and press this with your knee. Unfortunately those days are gone, and we are often left with expensive, quite delicate infra-red remotes instead. One option is to look for a clamp on bulb remote. You can get these on Ebay, and Total Angling in Shrewsbury produce a nice little kit which clamps to most compact cameras.
With my Canons I am happy to use their RC-6 or the older infra-red remotes most of the time. These can be picked up for around £15 and are
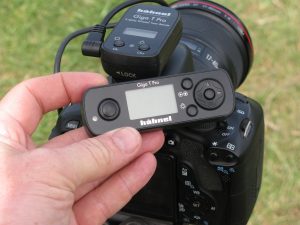
Intervalometers make self-takes much easier
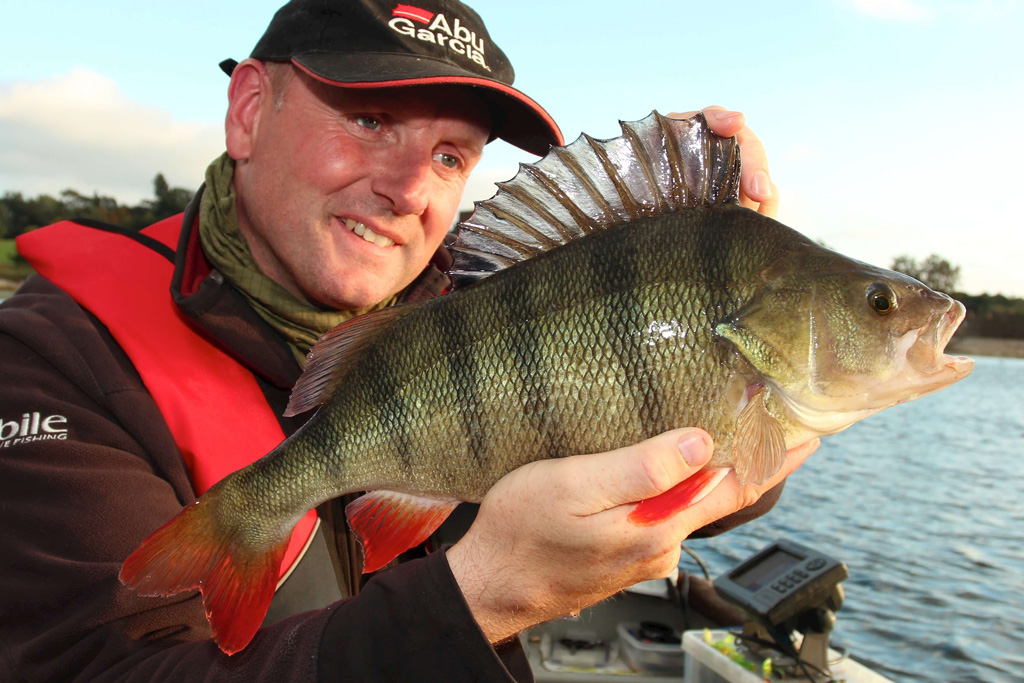
reasonably robust. There are a few downsides though. As these work on infra-red you do need to have direct line of sight to the front of the camera. This can be a little difficult to achieve when you are holding a decent sized fish. With only a 2-second delay between you pressing the button and perhaps having to move your hands to set the picture up there isn’t much time to get everything spot-on. Even with these draw-backs, I have used these remotes for so long that for fish up to about 20lb they work fine. They do get much trickier to use with bigger fish though, especially long ones like pike, where trying to hold the fish securely and use the remote can be difficult.
Fortunately, there is an answer, if you are willing to spend a bit of cash. For my money, the best option for fish self-takes is the Hahnel Giga T Pro remote control. This isn’t cheap at almost £80, but it does solve most of the problems with other remotes, and can be used ‘hands-free’ to let you get on with handling big fish. Basically the Giga T is a programmable timer that works on radio signals. This means that you do not need to be in direct line of sight to fire the camera. The major benefit though is that the unit can be configured to shoot a series of shots with a gap between each. I normally have mine set up to shoot 10 pictures and 5 second intervals. Once I hit the button I put the sender down, pick the fish up and wait for the flash. Check the screen, recompose the shot, wait for the next flash, and so on. In all I can get 10 shots in under a minute and get the fish back with the minimum of fuss.
There are other programmable timers on the market, some of which plug into the camera and are much cheaper than the Hahnel unit. I haven’t tried these, but they should all do a similar job. The biggest hassle is trying to work out the instructions to set them up correctly. Fortunately, you only need to do this once!
Well that’s it for this time, and we are almost at the end of this mini-series. Next time I will sign off by having a look at what to do with your images once you get back home to keep them safe and a few ideas about life after catch shots.
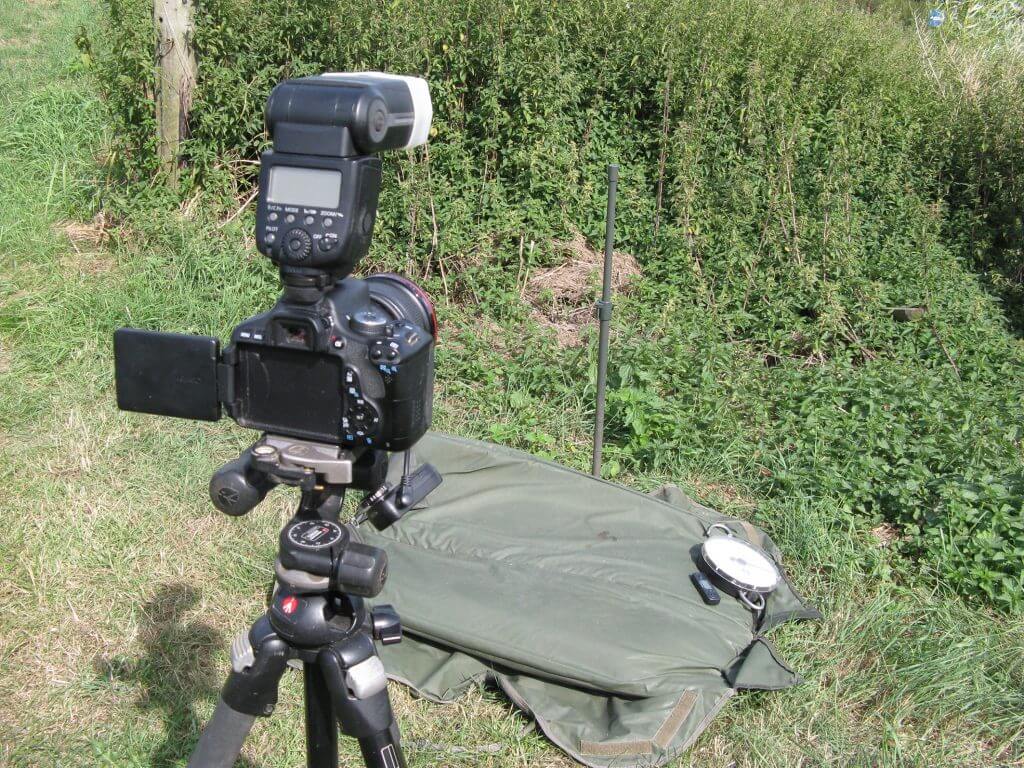
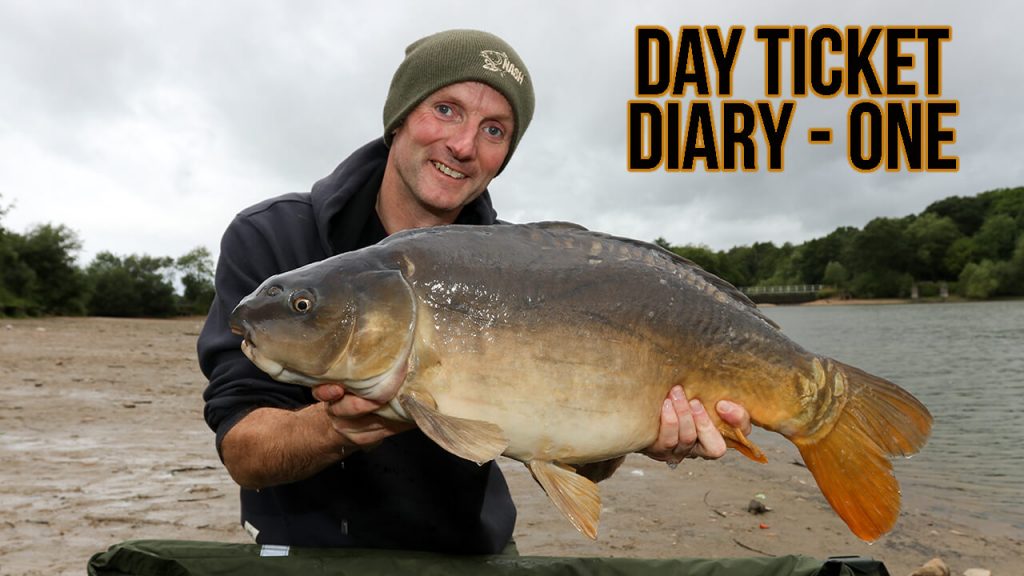
My standard self-take layout.

No Comments